Common User Controls
Throughout the software, there are several commonly used controls. These controls are outlined below.
Toolbars
Toolbars are found throughout the software and are used to help manage items within the relevant control. Each tool, and its functionalty are summarised below.
General
| Tool | Description |
|---|---|
 Add File/Folder Add File/Folder | Use these buttons to add a new entry or folder into the corresponding control. |
 Delete File(s) Delete File(s) | Use these buttons to delete selected files or clear all files within the corresponding control. |
 Collapse/Expand Collapse/Expand | Use these buttons to automatically expand or collapse entries within a control to a specified level. |
 Sort Sort | Use these buttons to automatically sort control items by accedning or decending order. |
 Copy and Paste Copy and Paste | Use these buttons to copy and paste (duplicate) selected items within the control. |
 Export/Import Export/Import | Use these buttons to export items out of or import items into the corresponding control. This is especially helpful when setting up a new project, as items from existing projects can be imported. |
Viewport
| Tool | Description |
|---|---|
 Selection Selection | Description for Selection |
 Zoom Zoom | Click and drag with the left mouse button to zoom in and out of the viewport. |
 Pan Pan | Click and drag with the left mouse button to pan the viewport in any direction. |
 Rotate Rotate | Click and drag with the left mouse button to rotate the view around the mouse-down point. |
 Measure Measure | Measure distances by clicking sequentially with the left mouse button to define points. The measured distance appears in the bottom right-hand corner. |
 Projection Projection | Toggle between two camera projections:
|
 Grid Grid | Toggle between three grid modes:
|
 Scale Bars Scale Bars | Click to show or hide the scale bar located at the bottom left corner of the viewport. |
 Zoom In Zoom In | Click to zoom in on the viewport. Each click zooms in by a predefined increment, allowing you to focus on details within the scene. |
 Zoom Out Zoom Out | Click to zoom out from the viewport. Each click zooms out by a predefined increment, enabling you to see a larger portion of the scene. |
 Zoom All Zoom All | Click to zoom out to fit all visible objects within the viewport. This view provides a comprehensive perspective, displaying the entire scene and all its elements. |
Recurring Events
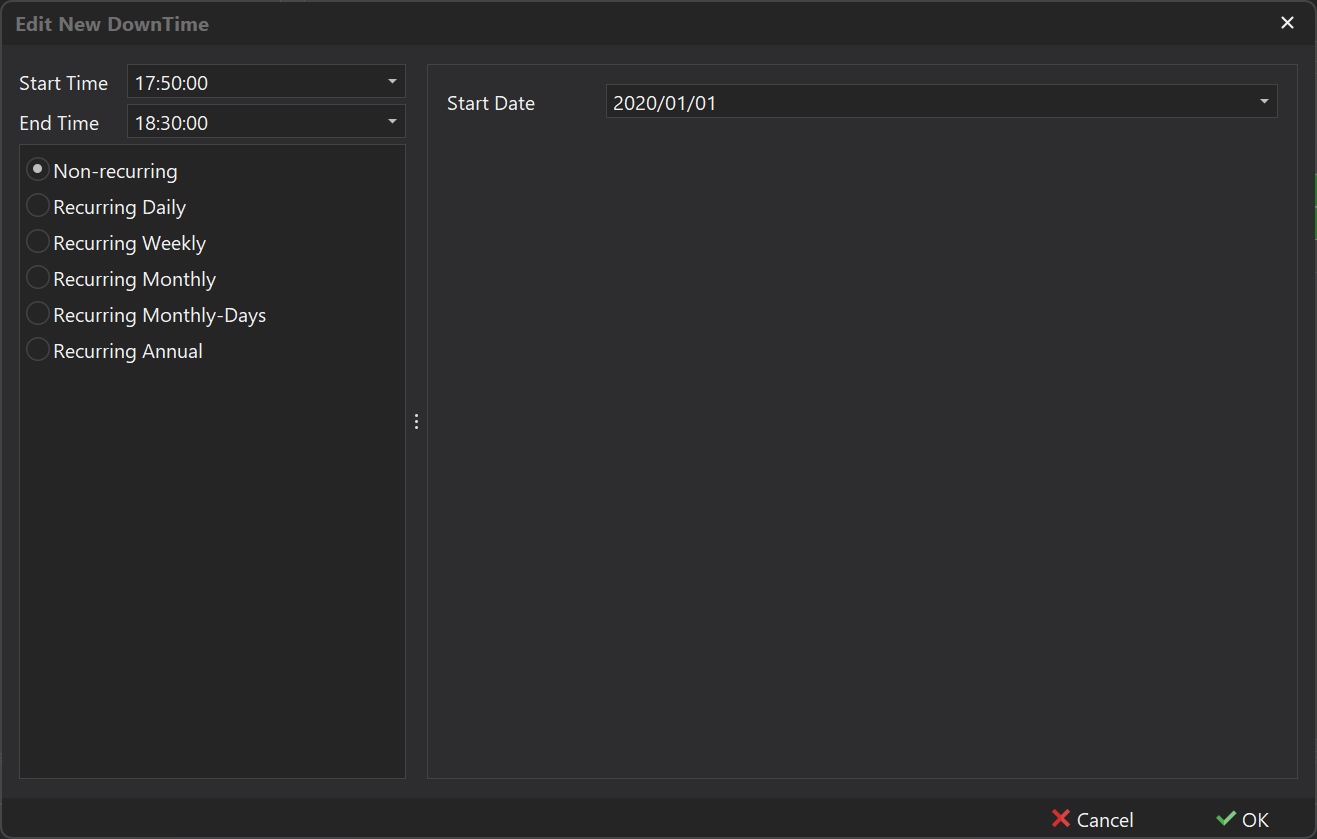
Throughout the software, recurring events can be scheduled in various locations, such as in the Rosters step or for Weather events in the Simulation tab. These events can be configured using the control displayed in the table below, which appears when adding such items
| Column | Description |
|---|---|
| Non-recurring |
 |
| Recurring Daily |
 |
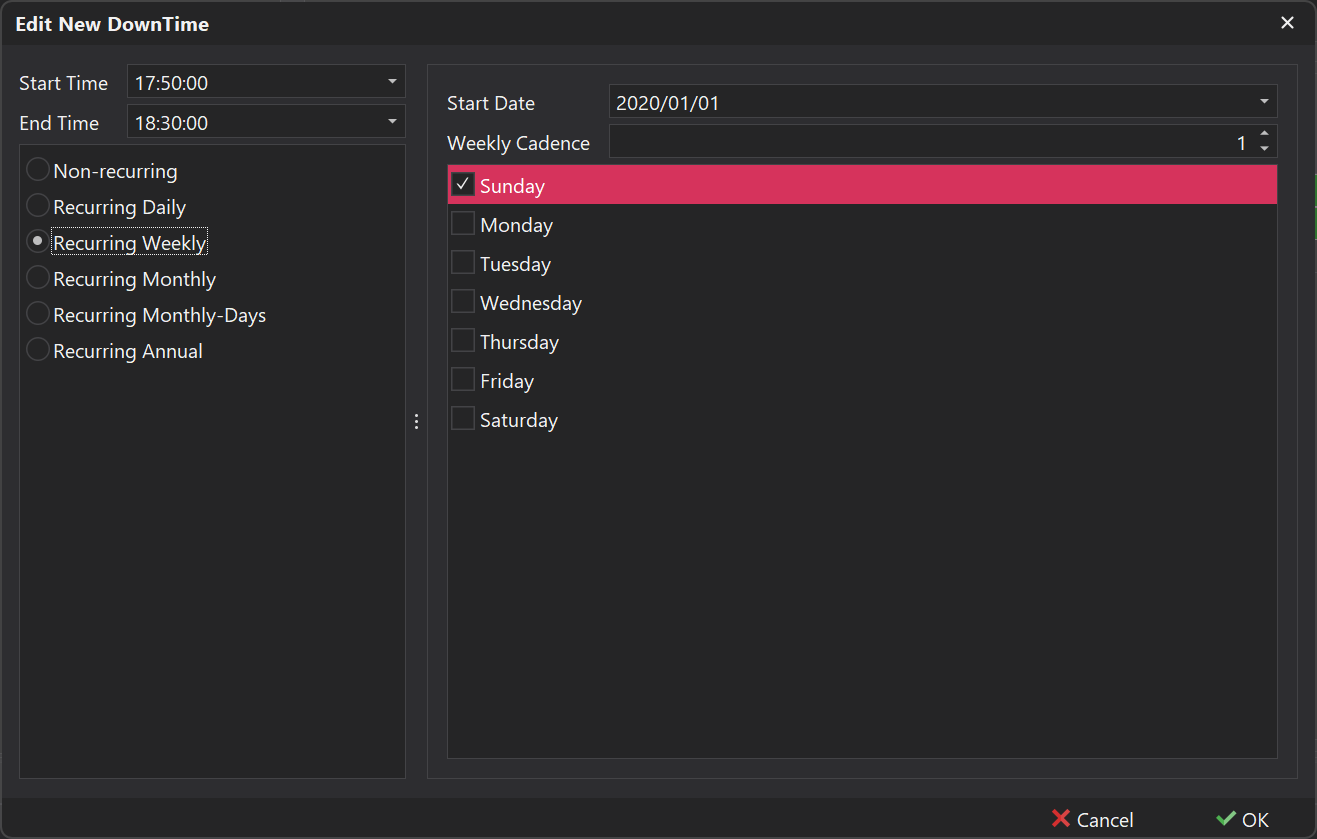
| Recurring Weekly |
 |
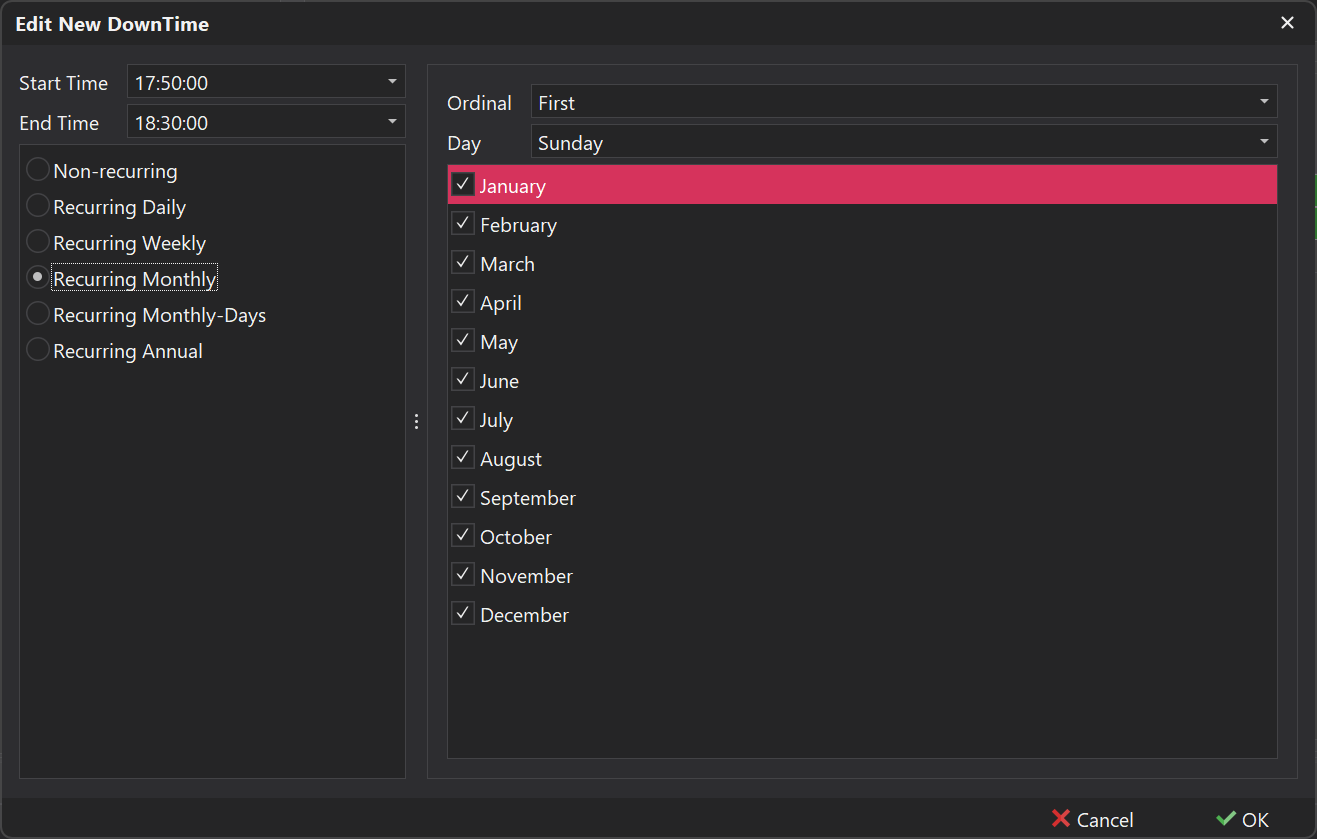
| Recurring Monthly |
 |
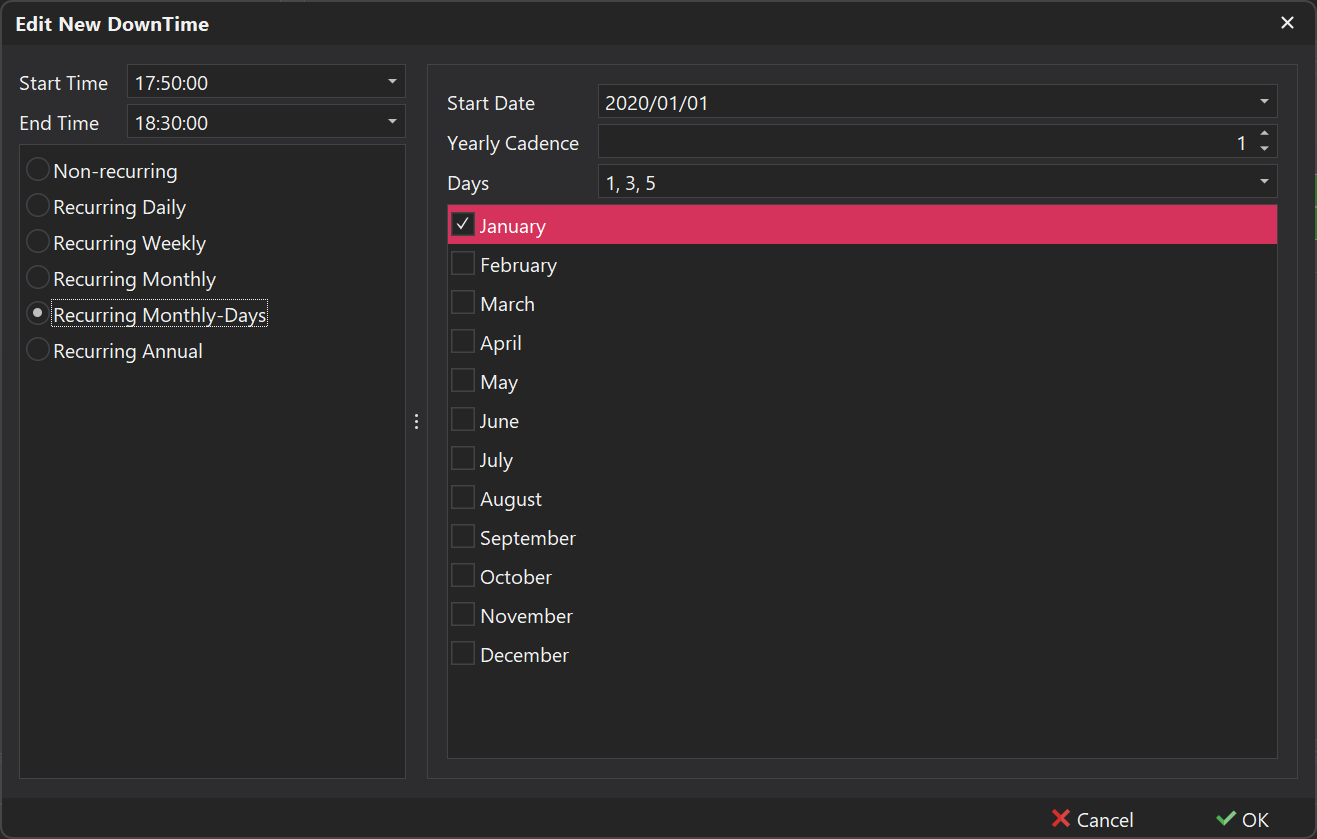
| Recurring Monthly-Days |
 |
| Recurring Annualy |
 |